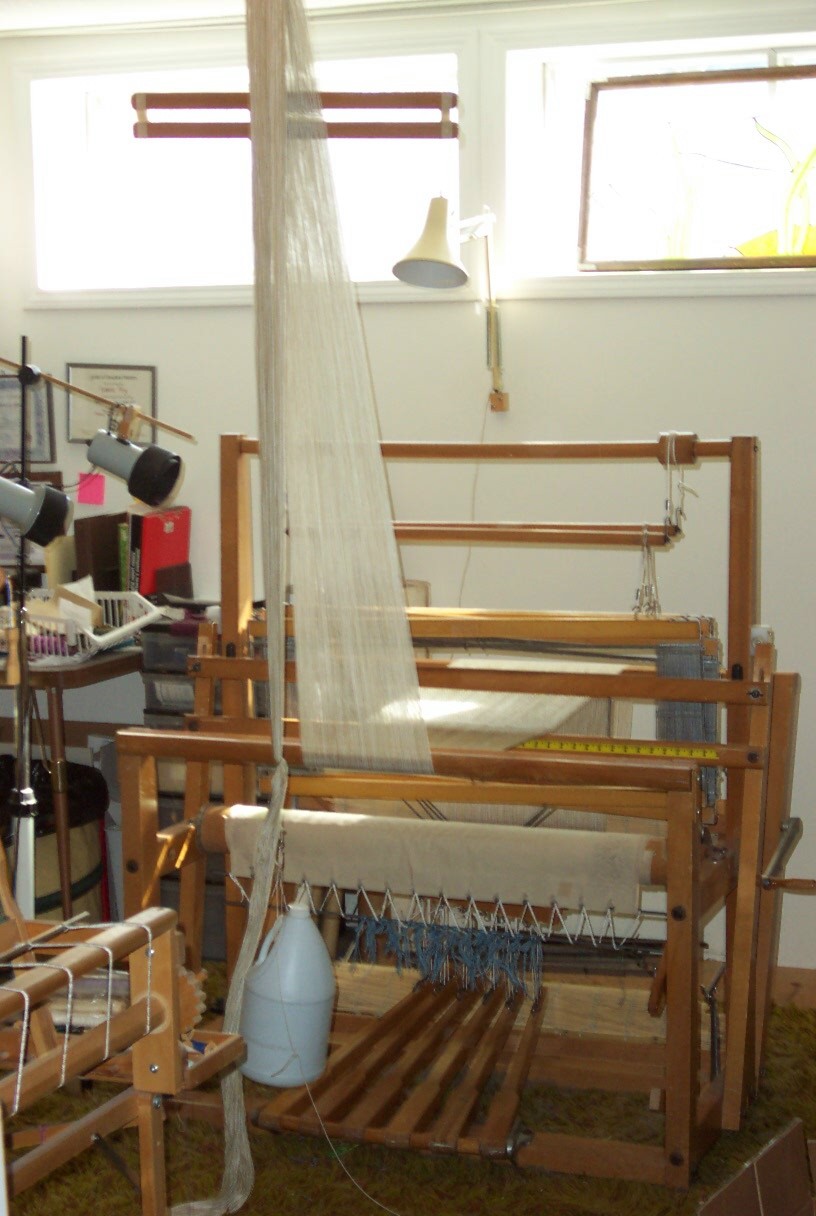
As I was beaming the next warp (that I will leave on the loom for some simple and fast weaving when I get home) I started thinking about the latest questions on the internet from new weavers running into all sorts of difficulties getting a warp onto their loom.
I would really like to reassure them that it doesn’t have to be painful! But in order to remove the pain from the process, a few things have to be learned.
Dressing a floor loom is not the same as dressing a rigid heddle loom. A floor loom is generally bigger in all dimensions, can take a much longer and sometimes wider warp. It can also handle much finer threads than most rigid heddle loom weavers use. And those changes in parameters mean that dressing a floor loom is a completely different kettle of fish in some ways.
Regardless of whether you are a front to back or back to front kind of weaver, the warp has to begin by being wound consistently.
As I travel around teaching one of the things I often notice is that weavers will wind their warps, especially on a warping board, with far too much tension.
I understand that winding the warp on the board seems fraught with ‘danger’ but relax! The thread merely needs to be tensioned enough that it doesn’t sag between pegs but it must be consistent! If the warp is being wound with a death grip on it, the tension will be so great that succeeding passes of the thread will cause the pegs to bend inwards. What that means is that the first threads will be longer than the last threads.
It might also mean breakage of the pegs if the tension becomes too great, and that is a disaster that can be terminal. (In my studio it would be – I would not spend days straightening out that tangle – the thread would go directly into the recycle bin.)
So, a warp should be wound with consistent tension.
The cross should be secured in some manner. I tie the four ‘arms’ of the X, not the waist of the cross. I use a thick yarn of contrasting colour to tie the cross and the choke tie which is about 24 inches away from the cross. This choke tie must be as tight as possible so that as you manipulate the threads putting them into a raddle or reed the slack in the threads from handling does not transfer below the choke tie.
Some people advocate tieing the warp chain every yard. Some people say you must wind the warp chain onto a ‘kite’ stick, or crochet it into a chain.
You must do whatever gives you the best results. Try all of these things and find out what works for you. Changing the type of yarn you use may mean changing your process! For example, if you are working with a yarn with lots of twist energy left in it, winding it onto a kite stick makes a great deal of sense because that will help keep the twist from actively grabbing onto neighbours and causing all sorts of tangles down the length of the warp.
Beam the warp under tension. My preferred method is to use an actual weight rather than the wind and jerk method. By using a weight the same amount of tension is applied for the entire length of the warp. But whatever, use tension while beaming.
Use some sort of warp packing. Whether that is heavy paper, sticks or my preferred bamboo blinds, it doesn’t really matter. They all work to keep the upper layers from cutting down into the lower layers and preventing tension problems during weaving.
There are many ways to skin a cat (sorry cat lovers, it’s a metaphor!) Find a system that works for you with your loom, space, physical capabilities and budget. More tools can make the process more efficient, but people have been weaving for literally thousands of years with little more than sticks and string.
Above all, enjoy! Weaving is a complex process that isn’t mastered in one warp.