
It’s beginning to come back to me – how much extra work and how fiddly working with two warp layers is. 🙂
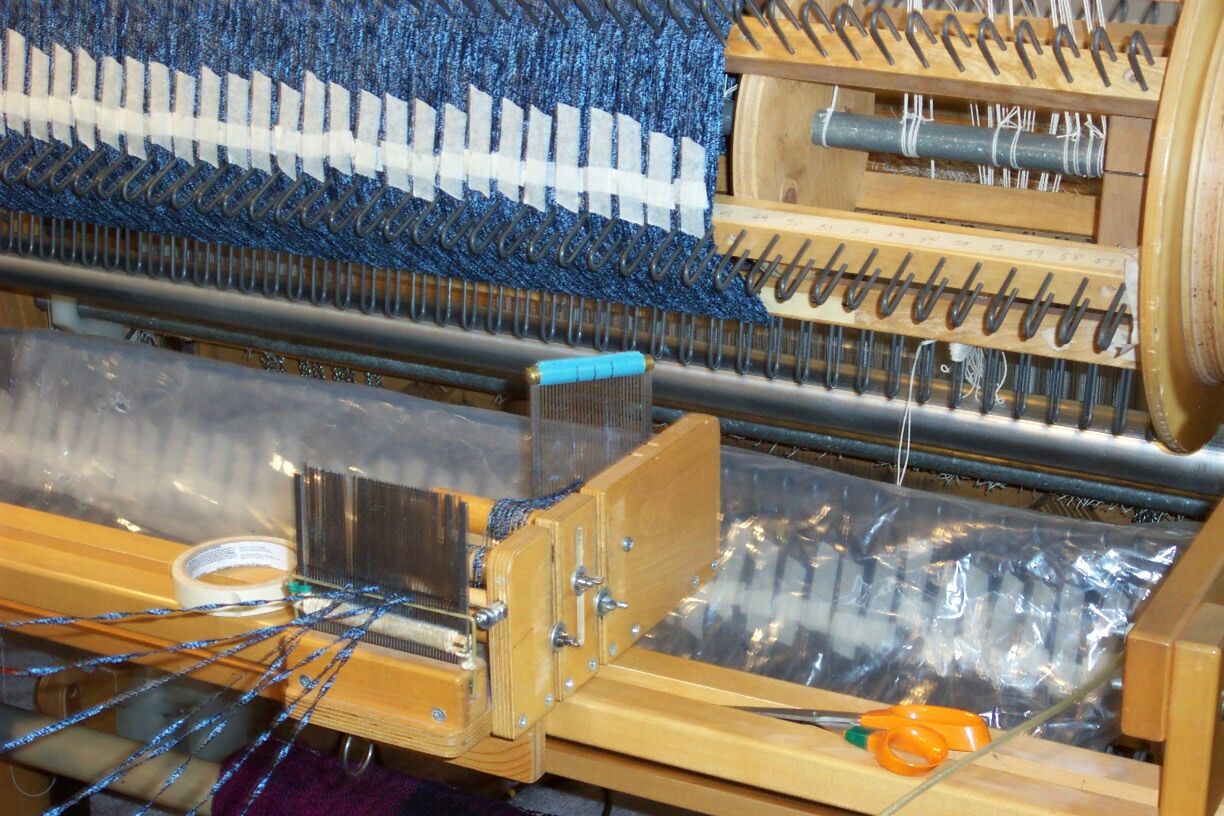
The above photo shows the first warp all beamed, and the second (upper) warp nearly beamed. I put plastic over the bottom warp beam just to make sure that nothing gets caught on the rakes of the lower beam.
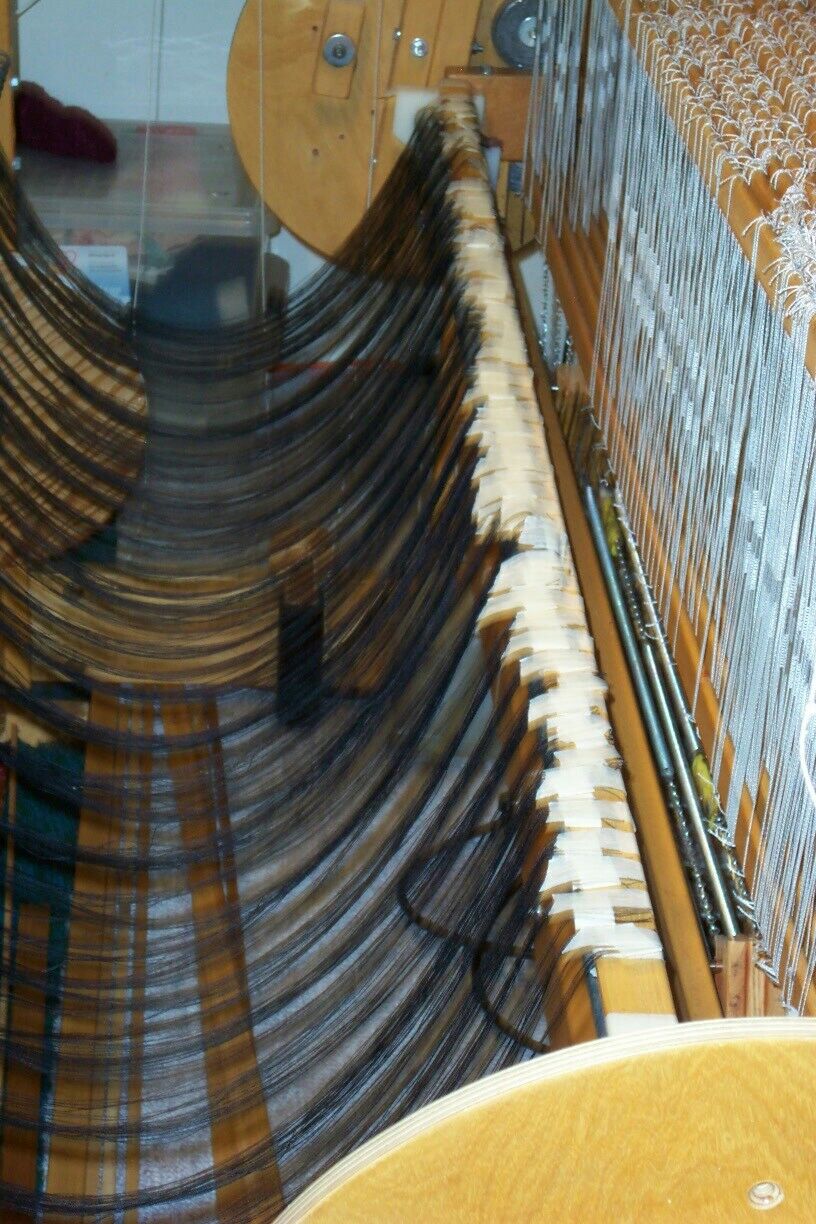
Once both warps are beamed, I start by positioning the lower warp ready for threading. All the bouts are taped to a long stick which then gets taped to the loom just behind the shafts at the bottom with sufficient slack for easy threading. This is my ‘normal’ position for threading a warp.
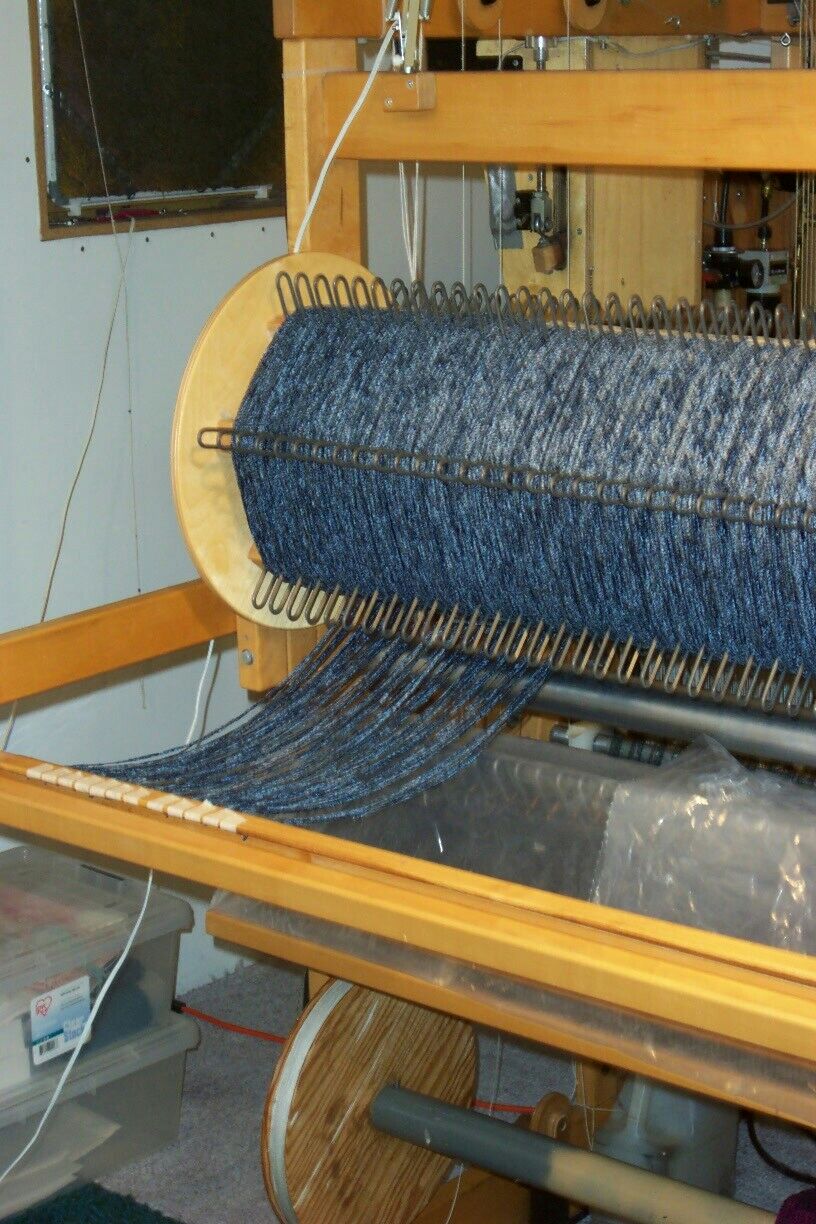
Then all the bouts for the upper warp are transferred onto another long stick after putting the plastic back over the bottom beam and the bottom warp.
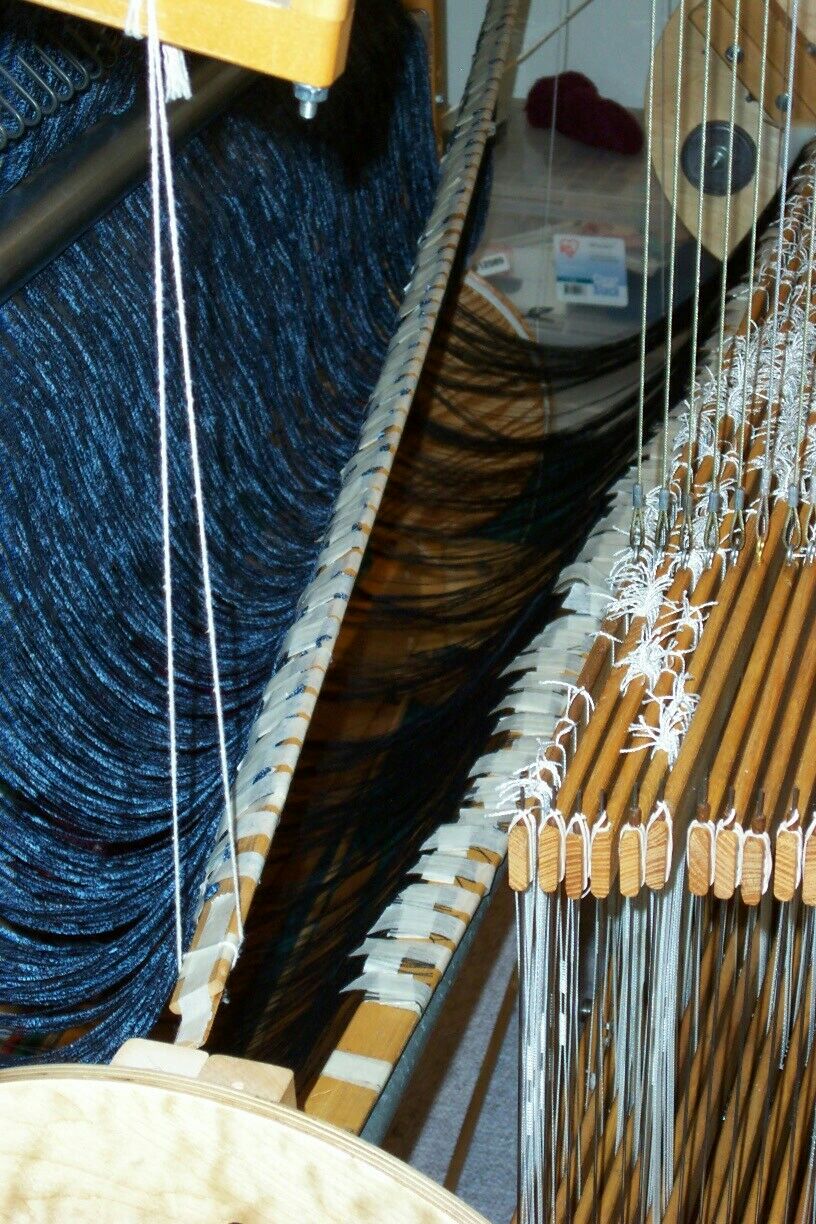
The second (upper) warp is then suspended from long string loops attached to the top of the loom frame.
I’ve left the upper stick angled so you can see the two warps, one above the other.
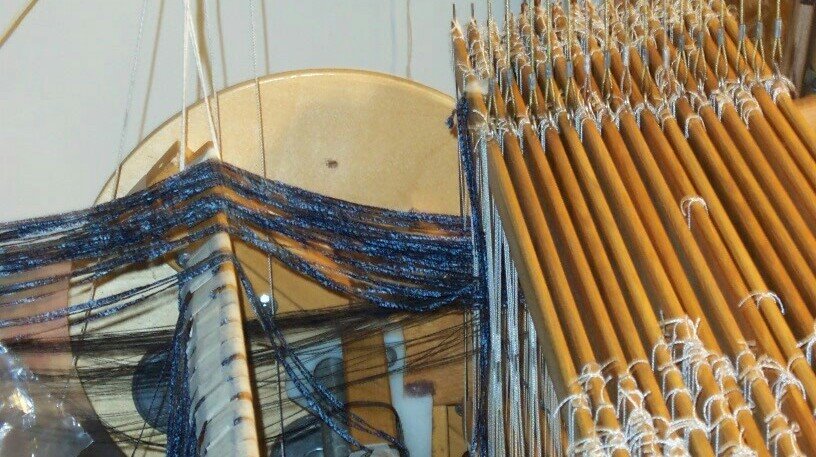
Then I started threading. And remembered another ‘trick’ about working with two layers of warp.
Do NOT wrap the bouts or any part of any bout around either the other layer or other ends in the same bout!
I don’t know if you can see it in this photo, but I keep the tape holding the bottom ends taped to the bottom of the shaft while the tape holding ends from the upper ends is taped to the top of the shafts.
This requires a certain amount of ‘contortion’ on my part, but helps to remind me not to get the ends wrapped around each other.
I’d hoped to be able to thread several ends at a time as is my usual approach to threading, but in the end decided that it was going to be a lot faster in the long run to thread one fat thread, then two skinny ones, tie them in a slip knot, then do the next three ends. Slower by the end, faster by the project.