I have no doubt posted about warp winding before but not everyone new to my blog will want to dig through all (nearly!) 1000 posts to find the information so I thought I’d approach the topic again, perhaps adding more information than I’ve included before.
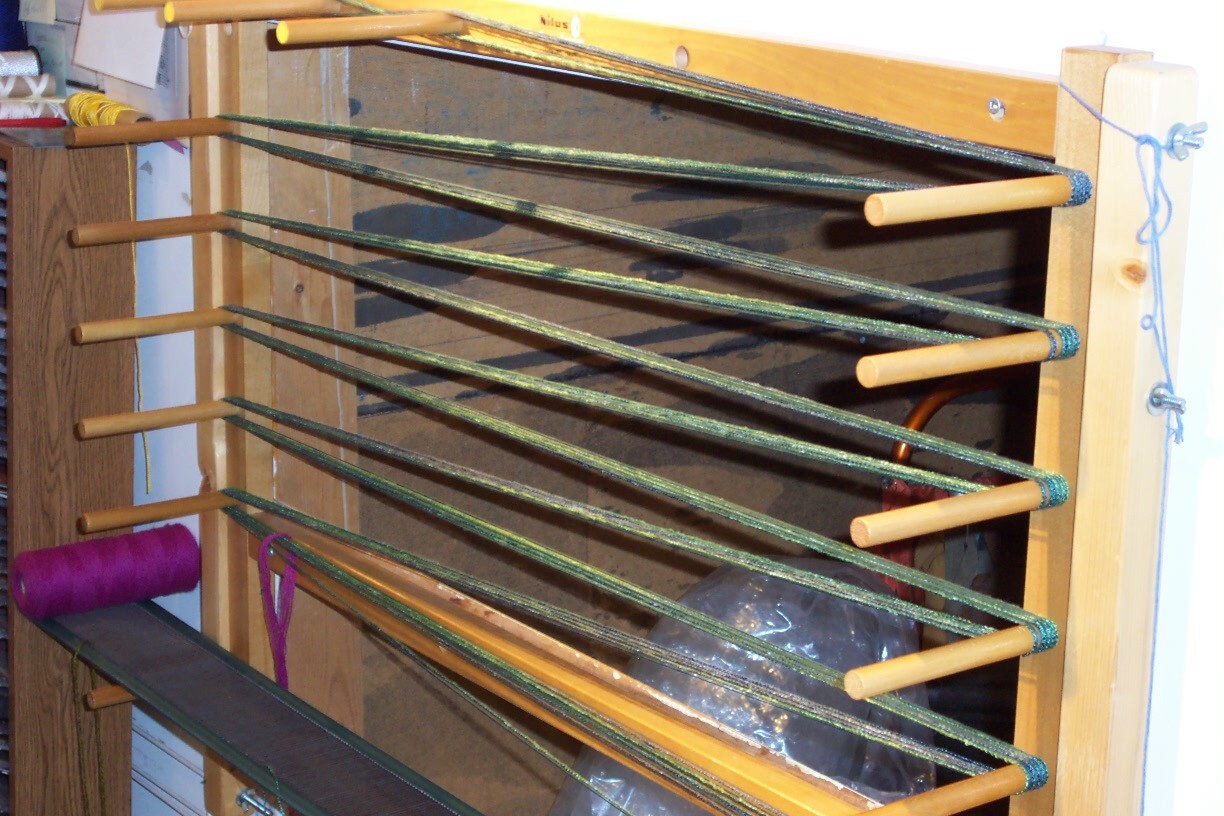
While my board is rated to 13 meters, I really don’t like using every single peg so I pretty much keep my maximum to 11 meters. The pegs are removable so I only put as many pegs into the board as I actually need to wind my warp.
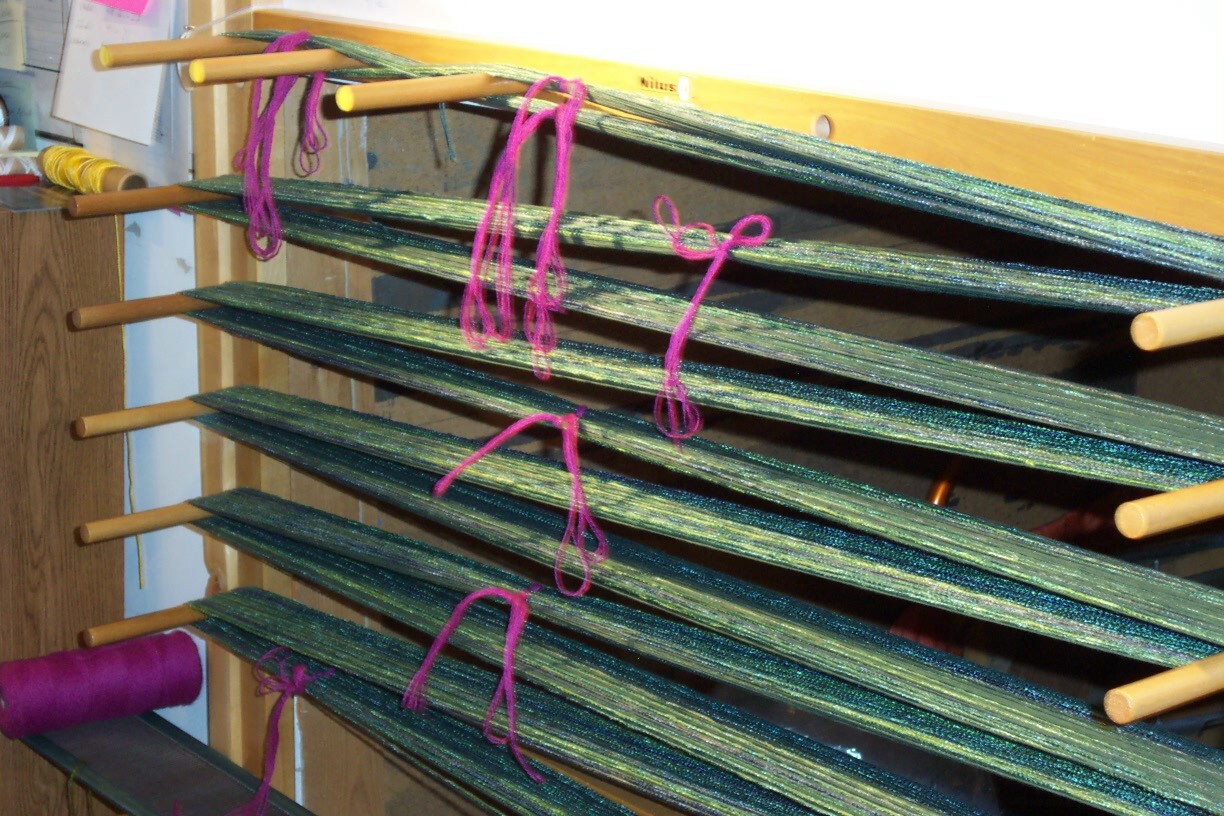
I don’t use a guide string – the first pass of the yarns becomes my guide string, so to speak. Notice the yarns are pushed well to the back of the pegs, near the board itself.
Some people wind their warps with a great deal of tension and let the yarns creep out along the length of the peg. The high tension isn’t necessary – you only need as much tension as required to keep the threads from sagging. As always, if you can’t be perfect, be consistent. 🙂 Ultimately the further out along the length of the peg, the more stress on the peg causing it to bend inwards. The end result is warp ends that become shorter and shorter the wider a warp you wind. Taken to the extreme, the peg can actually break off.
I don’t overlap the ends as I wind but simply keep pushing the threads to the back of the peg. This keeps the ends as close to the same length as possible.
The counting string is that bright pink yarn down on the last section of the warp at the bottom left. I always use a yarn thicker than the warp yarns. If the junk yarn I’m using is thin, I fold it several times to make it thicker. The combination of contrasting colour and thicker yarn makes finding and removing the ties much easier.
As usual I tie off the four arms of the X, not around the waist. I find that tying the waist of the X the yarns become compressed and it is harder to find the next pair (in this instance – I’m winding two ends at a time) in the sequence and the cross tends to get kind of messy.